
Installing borders
Borders allow you to further enhance the overall impression of a room. They can be placed in various locations, including along skirting boards or even in the middle of the wall. Below, we describe step by step how to install borders.

Along the baseboard or cornice
1
Apply adhesive to the back of the border using a brush. Fold the border (like an accordion) and let it stand for 5 minutes to make it easier to stick.
2
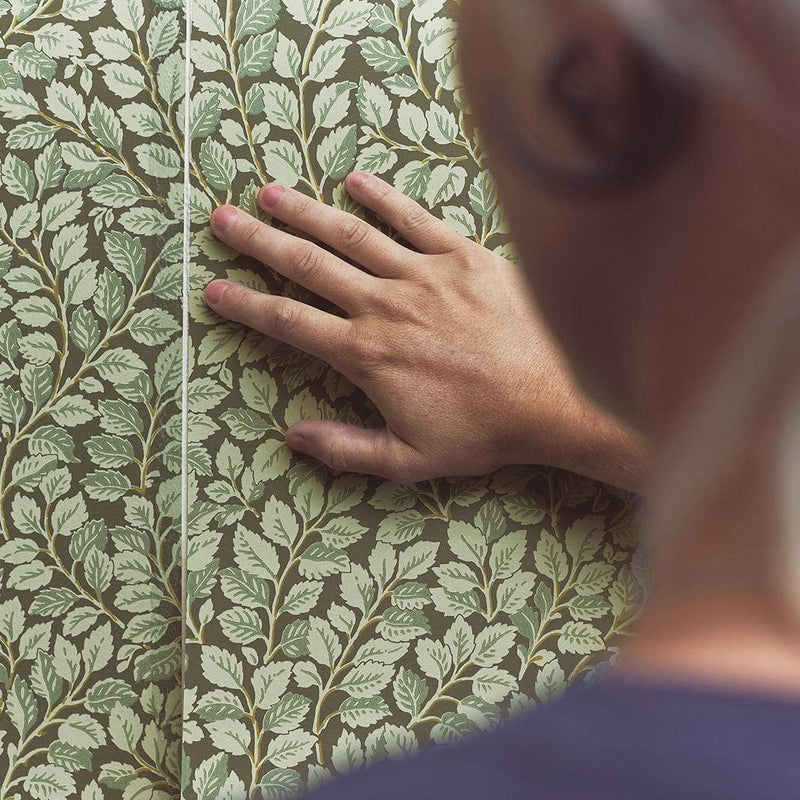
Start installing the border from the corner, leaving a few centimeters for the next wall. Press the border firmly with a wallpaper spatula or brush.
3
Place the next section of the border precisely in the corner. Pay attention to pattern matching.
4
If the border forms a frame, it looks best when cut at a 45-degree angle in the corners. Align the pattern and cut the lengths as usual. Then mark the cutting angle on the front and cut with a sharp knife.
Dividing the wall
1
Establish a horizontal line along which the border will run. The border can be placed, for example, at the height of a windowsill or another interior element, or above a headboard or other piece of furniture.
2
Measure the height and mark the position of the border on the wall with a regular pencil. First, glue the upper panels of the wall. Apply adhesive to the wall up to the pencil line.
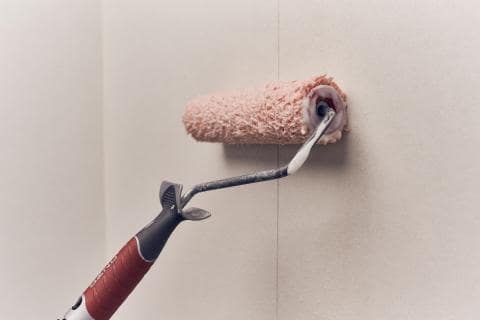
3
Then apply adhesive to the lower part of the wall to glue the lower panels. This applies to EasyUp wallpapers, where the adhesive is applied directly to the wall.
4
When placing the wallpaper below the border, it is advisable to shift the panels half a panel width downward. This is necessary because it is often difficult to precisely match the panels.
5
The upper and lower panels of the wallpaper should be exactly opposite each other. A small gap is better than overlap, as the gap can be easily filled with filler material.
6
Make some small marks on the wall with a pencil, preferably at the bottom edge of the border.
7
Now proceed as described in the "Along the baseboard or cornice" section. Follow the marks made with the pencil according to step 6.
Read more


Wallpaper school - Learning how to install wallpaper correctly
Many think that wallpapering is difficult, although it's actually quite simple and very enjoyable work. And what a pleasant and proud feeling it is to admire your beautiful walls afterwards! We have compiled a simple eight-step guide explaining how to apply our EasyUp wallpapers to the wall.


Preparations for installing wallpaper
The key prerequisite for successful wallpapering is proper preparation work. Before installing new wallpaper, there are a few things you need to consider. These may also depend on the surface onto which you intend to put the wallpaper. Here you will find information on how to prepare the room for wallpapering and what tools you will need.

Wallpaper adhesive
To find out which wallpaper adhesive you should use to hang your wallpaper, it’s good to check if the adhesive is approved by the STB (the Swedish Wallpaper Council) and which adhesive codes should appear on the adhesive container. You can find our recommendations for wallpaper adhesives here.

Pattern matching
Before wallpapering, it is important to check how the wallpaper pattern should be matched. You can find this information on the wallpaper label. Here we explain how to install straight match, free match, and drop match wallpapers.


Installing wallpaper around windows, doors, and sockets
Step by step how to install wallpaper around windows, doors, and sockets.